Using One UPS to Protect Two Synology NAS Units in a Home Lab
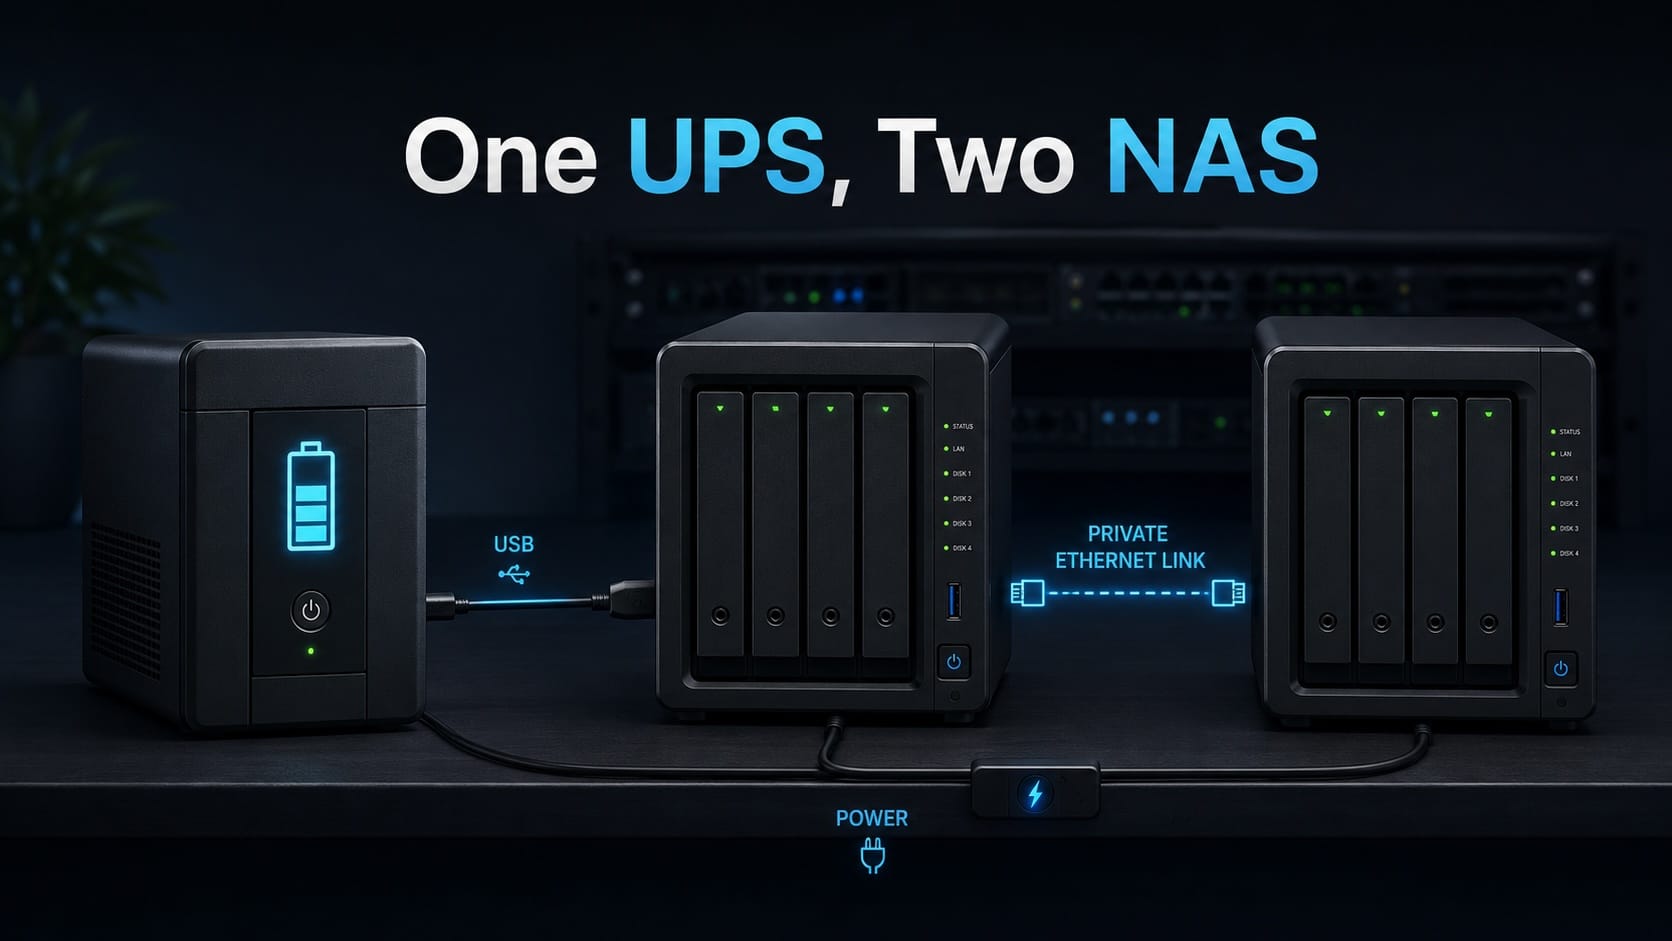
In a home lab, the UPS problem can get confusing quickly.
You may have a good UPS with plenty of battery capacity, but only one USB communication cable. That works fine if you only have one computer or one NAS. But what happens when you have two Synology NAS units, network gear, and a rack-mounted UDM Pro all depending on the same battery backup?
That was the problem I wanted to solve.
I had two Synology NAS units in the same home lab cabinet, along with Ubiquiti routers and a rack-mounted UDM Pro. The UPS could power all of them, but USB shutdown communication is normally limited to one device. I did not want one NAS protected and the other one blindly waiting for the battery to die.
The answer was to let one Synology NAS talk directly to the UPS over USB, then let that NAS act as a UPS server for the second Synology NAS over a private Ethernet link.
The Confusing Part: “Synology UPS Server”
The wording in DSM can be a little misleading.
“Synology UPS server” does not mean you need a special Synology-branded UPS. It means one Synology NAS becomes the UPS status server for another Synology NAS.
The NAS physically connected to the UPS by USB should be set to:
UPS type: USB UPS
The second NAS, which receives UPS status over the network, should be set to:
UPS type: Synology UPS server
That distinction matters. If the UPS is plugged into a NAS by USB and you select “Synology UPS server” on that same NAS, DSM will complain because it sees the USB UPS and expects you to select USB UPS.
The Design
The setup looked like this:
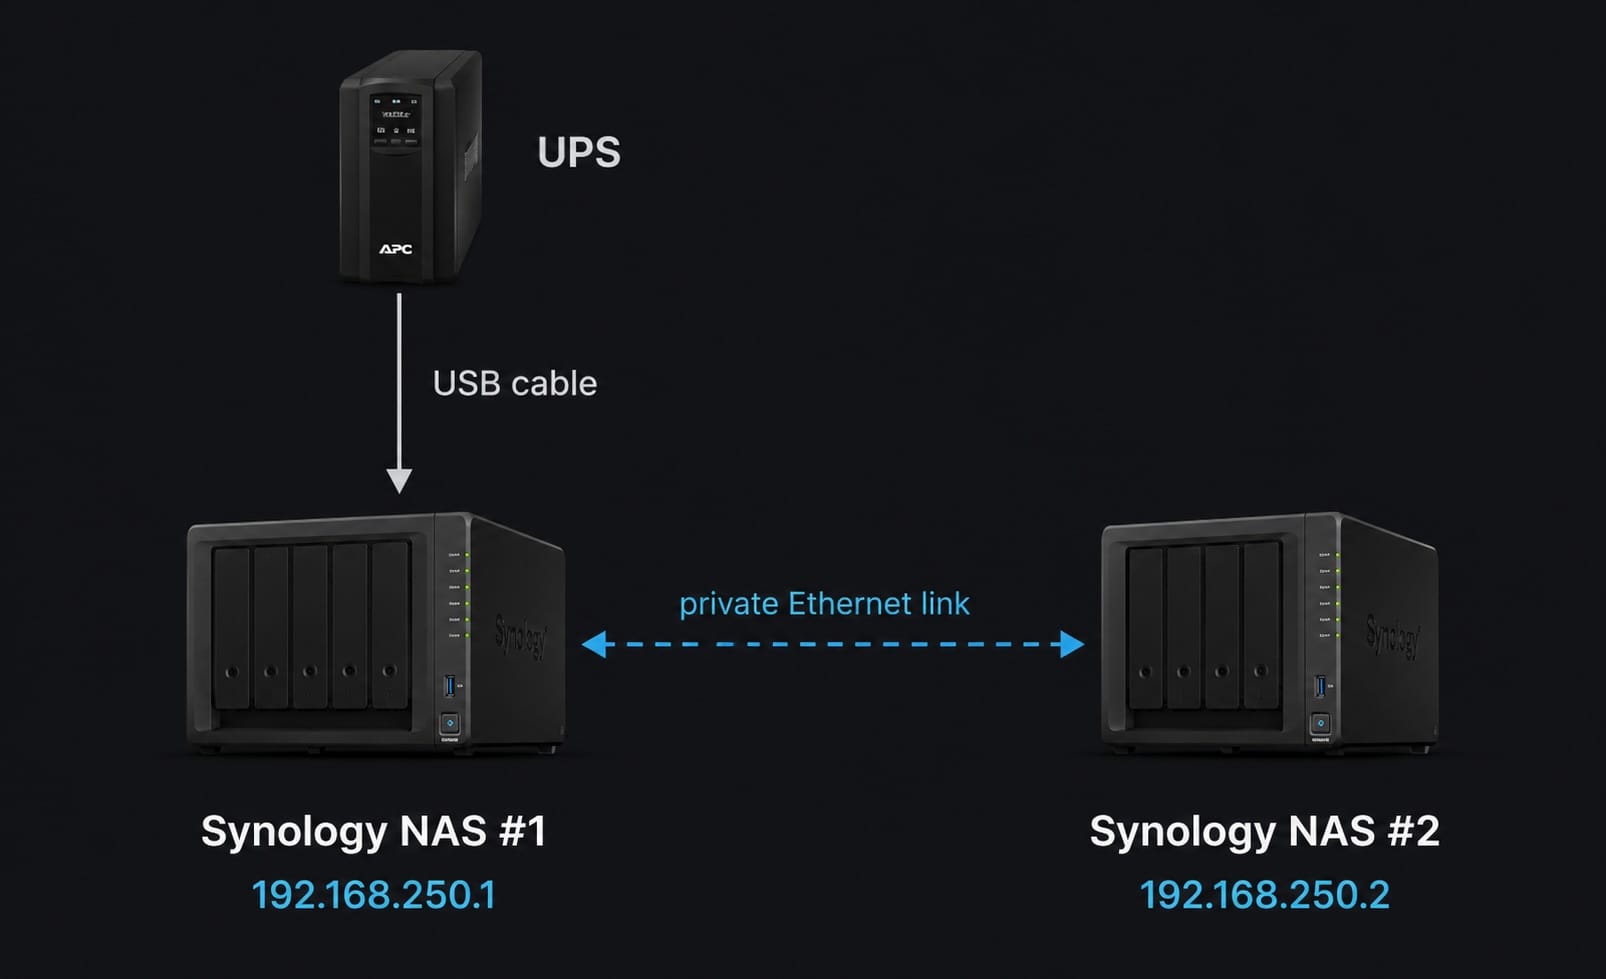
The UPS powers both NAS units. The USB communication cable goes only to NAS #1. NAS #1 then shares UPS status with NAS #2 over the network.
Since both Synology units had multiple LAN ports, I used a spare LAN port on each NAS to create a private direct connection. No switch was needed.
Private NAS-to-NAS Ethernet Link
I used a normal Ethernet patch cable between the spare LAN ports. Modern Ethernet ports usually support auto-MDI/MDIX, so a crossover cable should not be necessary.
The private link was configured like this:
NAS #1 LAN4
IP address: 192.168.250.1
Subnet mask: 255.255.255.0
Gateway: blank
DNS: blank
NAS #2 LAN4
IP address: 192.168.250.2
Subnet mask: 255.255.255.0
Gateway: blank
DNS: blank
The important part is leaving the gateway and DNS fields blank.
This link is not meant to route traffic to the internet. It is only a private back-channel between the two NAS units.
NAS #1 UPS Settings
On the NAS physically connected to the UPS by USB:
Enable UPS support: checked
UPS type: USB UPS
Time before Synology NAS enters Standby Mode: Customize time
Enable network UPS server: checked
Permitted Synology NAS Devices: 192.168.250.2
I left this unchecked:
Shut down UPS when the system enters Standby Mode
I did not want the UPS turning itself off while other network equipment was still using battery power.
For timing, I prefer a custom value such as 5 or 10 minutes instead of waiting until the UPS reports low battery. That gives the NAS time to enter standby/safe mode before the battery is nearly exhausted.
NAS #2 UPS Settings
On the second Synology NAS:
Enable UPS support: checked
UPS type: Synology UPS server
Network UPS server IP: 192.168.250.1
Time before Synology NAS enters Standby Mode: Same as server
Using “Same as server” keeps the second NAS following the UPS timing from NAS #1.
What About the UDM Pro?
The UDM Pro is different.
It can be powered by the UPS, but it does not work like a Synology NAS or a Mac where you simply plug in a USB UPS cable and configure automatic shutdown. In a home lab, the practical approach is usually to keep the UDM Pro, switches, routers, and modem powered by the UPS for as long as possible.
The NAS units are the priority for graceful shutdown because they are protecting disks, file systems, databases, backups, and active writes.
So in this setup:
Synology NAS units: graceful UPS-aware standby
UDM Pro and network gear: remain powered by UPS as long as battery lasts
That is not perfect enterprise power management, but it is a clean and practical home lab solution.
Why I Did Not Use Public IP Routing
The two NAS units had other network connections already, but I did not want UPS signaling crossing public IP paths, firewall rules, or VPN dependencies.
During a power outage, network paths can fail in unpredictable ways. A modem, router, firewall, or VPN tunnel may go down before the NAS units finish communicating.
The direct Ethernet link avoids that problem.
It is simple:
NAS to NAS
Private IPs
No gateway
No DNS
No public routing
Testing the Setup
After configuring both NAS units, the basic test is:
- Confirm NAS #1 can reach NAS #2 on
192.168.250.2. - Confirm NAS #2 can reach NAS #1 on
192.168.250.1. - Confirm NAS #1 sees the UPS as a USB UPS.
- Confirm NAS #2 sees NAS #1 as the Synology UPS server.
- Briefly unplug the UPS from wall power.
- Verify both NAS units report the UPS is on battery.
- Plug the UPS back in before standby mode triggers.
The goal is not to fully drain the UPS during testing. The goal is to confirm both NAS units receive the power event.
Final Thoughts
This solved the one-USB UPS problem without buying another UPS for each NAS.
The key points were:
Use USB UPS on the NAS physically connected to the UPS.
Use Synology UPS server on the second NAS.
Use a private Ethernet link between NAS units.
Use a unique private subnet.
Leave gateway and DNS blank on the private link.
Do not expose UPS communication over the public internet.
Test with a short power-loss simulation.
For a home lab, this is a practical middle ground. It gives both Synology NAS units graceful power-loss awareness, keeps the network equipment alive on battery, and avoids overcomplicating the setup with extra UPS units or public network dependencies.